 |
↓ ① The timber arrives at the workshop. Although the four sides have been planed and back cuts havebeen made , it still looks quite rough. |
|
↓ ② For lumber of a certain thickness, a wedge is driven into the back of the timber to prevent further splitting and warping. |
 |
↓ ③ From here, we move on to the shaping process. We remove any curves and sharpen the edges to achieve the desired thickness. |
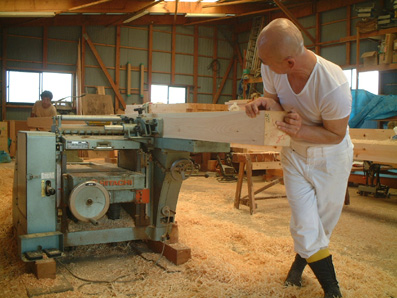 |
↓ ④ Plane the surface. The wood shavings are beautiful! |
 |
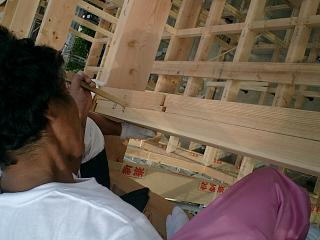
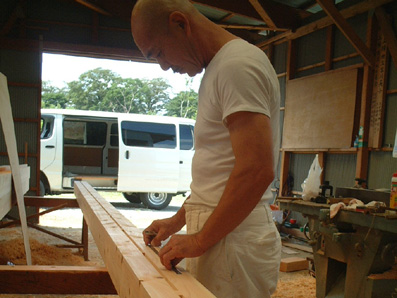
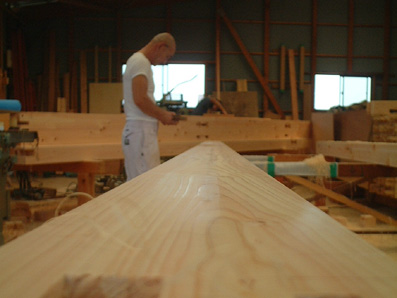
↓ ⑤ Did I draw it straight??? |
 |
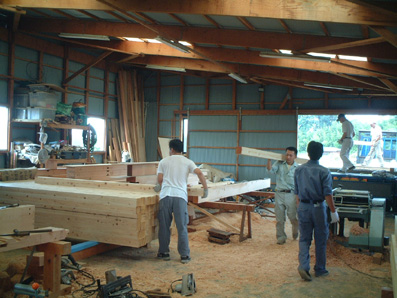
↓ ⑥ Once the thickness of the wood is adjusted, it is sorted out to decide which piece to use where . Each piece has its own unique characteristics, and is used in a way that brings out its best.Being able to discern the quality of wood is also a skill of the craftsman. |
 |
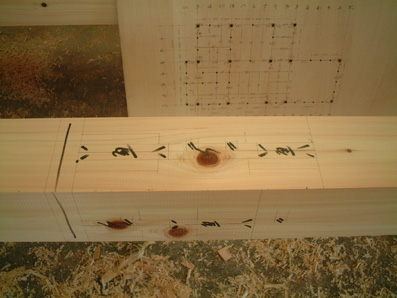
↓ ⑦ Now, the next step is marking.This is like a preliminary sketch of the final shape of this material. |
 |
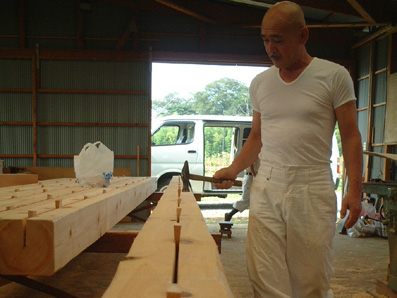
↓ ⑧ Tools such as a square ruler and an ink pot are used for marking. |
 |
↓ ⑨ Marking complete!! Now we'll actually start carving. |
 |
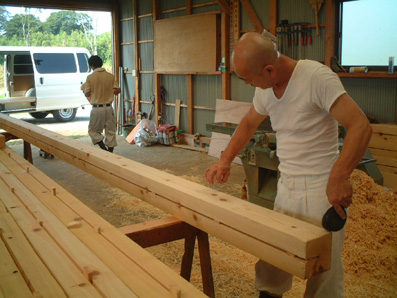
↓ ⑩ Each piece of wood should be processed in this way in at least two places. |
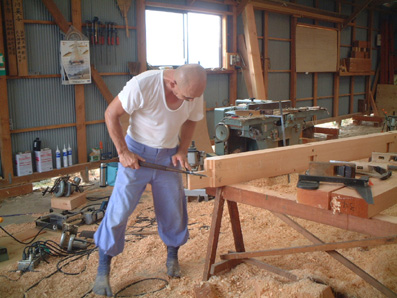 |
↓ ⑪ This is the machining process done according to the markings in ⑨. |
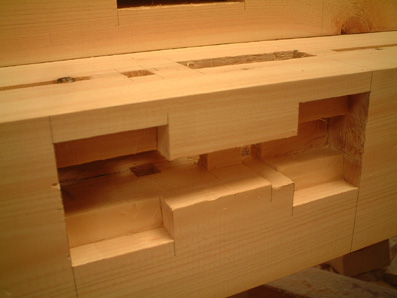 |
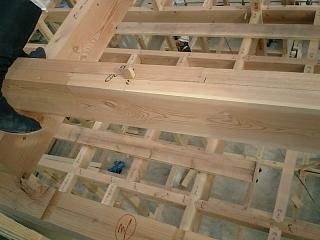
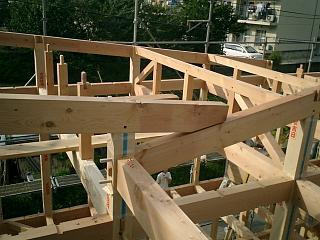
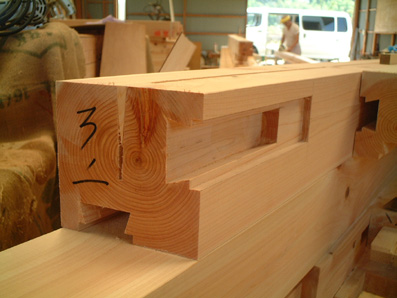
| ↓ ⑫ This is a beam. Insert it into the processed part of ⑪. |
 |
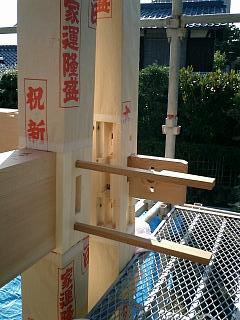
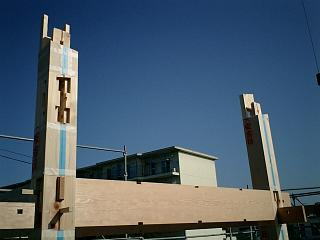
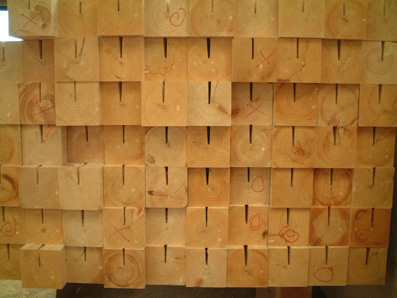
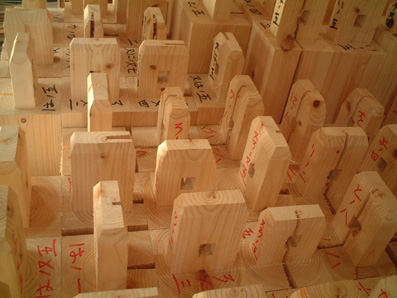
↓ ⑬ Processing of the pillars.
The characters and Chinese numerals written on them are called numbering.
This indicates which material they are combined with. |
 |
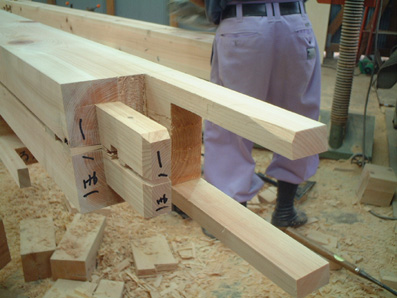
↓ ⑭This is also a process for processing pillars. The ingenuity to prevent the opposing material from easily coming looseis directly reflected in the shape. |
 |
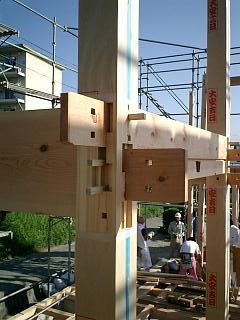
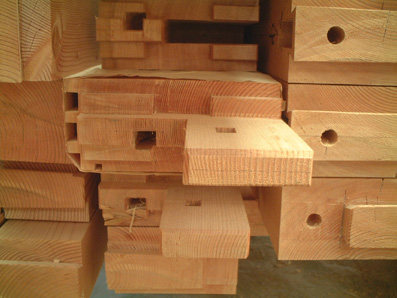
↓ ⑮ Some of them have such complex processing.
I wonder how it's done. |
 |
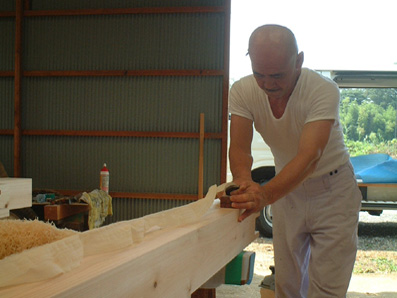
↓ ⑯ For the final touch, we plane it again.Can you see how the surface is shining beautifully? |
 |
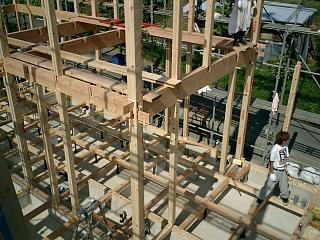
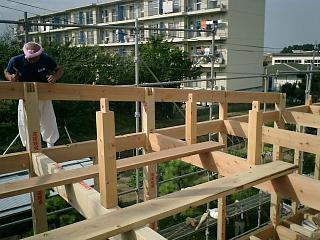
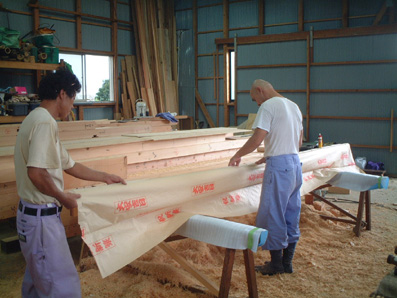
↓ ⑰ The pillars and beams that will be visible for decoration are carefully wrapped.This marks the end of the long, arduous carving work. Now it's finally time for the roof-raising ceremony !! |
 |
|
|