3/24 Groundbreaking Ceremony The groundbreaking ceremony was successfully completed in early spring, blessed with fine weather .
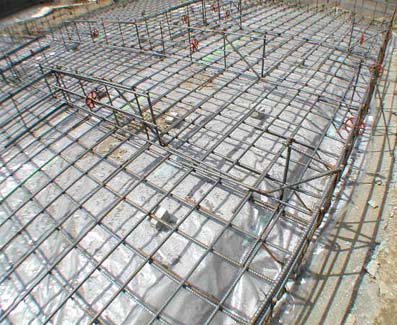
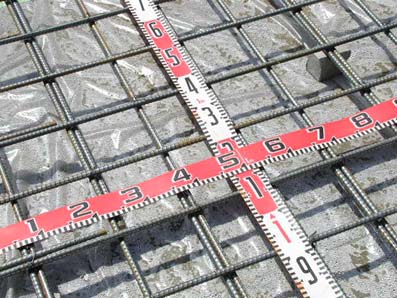
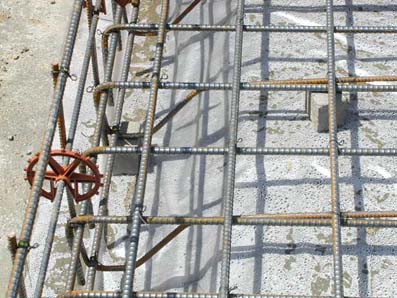
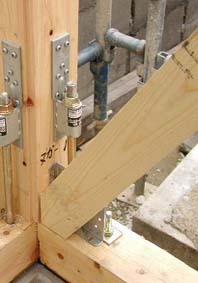
4/9 Foundation Rebar Inspection We inspected the thickness, pitch, and
splice length of the rebars.
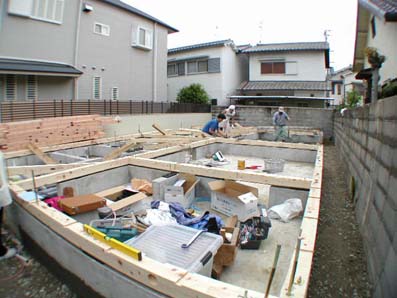
4/25 :Foundation Concrete Pouring Completed
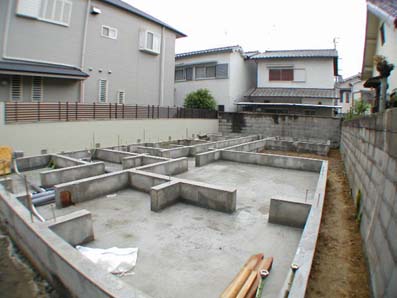
4/25: we used a laser surveying instrument to measure the level of the
foundation. The error was ±4 mm.
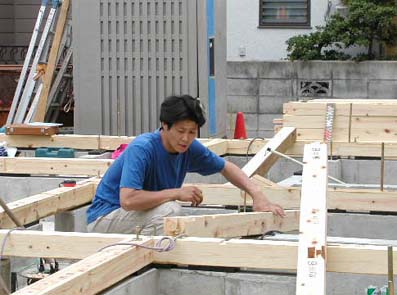
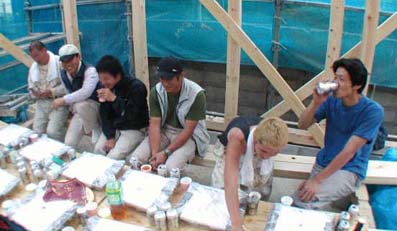
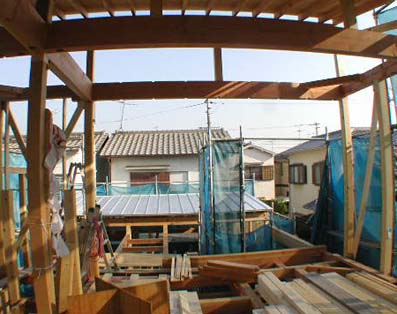
4/28:Topping-Out Ceremony Just like the groundbreaking ceremony,
we were blessed with fine weather today, and the topping-out ceremony was successfully completed.
Thank you to all the craftsmen for your hard work.
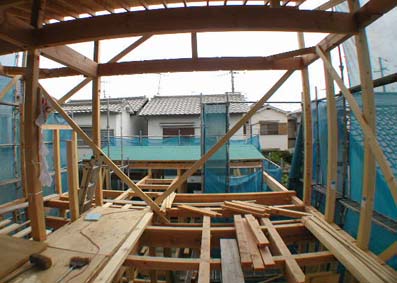
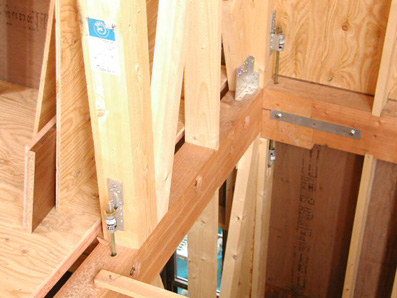
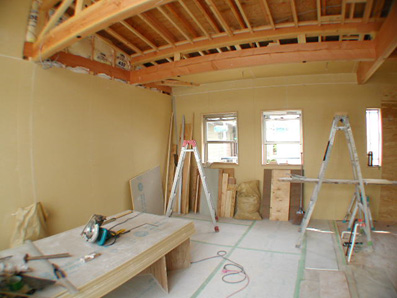
5/6: Roof Waterproofing Sheet Installation Completed
The green sheet visible in the background is the waterproofing sheet. Temporary bracing has been installed so far. Over the next week, we will install the bracing and construct the load-bearing walls.
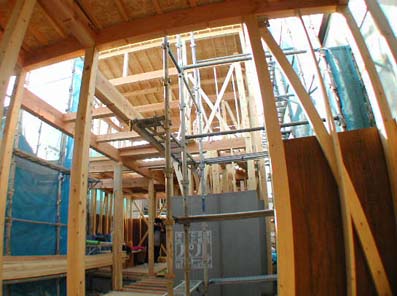
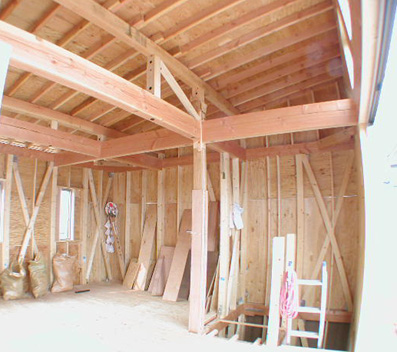
5/9: Roofing Completed with Galvanized Steel Sheets
This is the silver-colored section in the background. The permanent bracing is gradually being added.
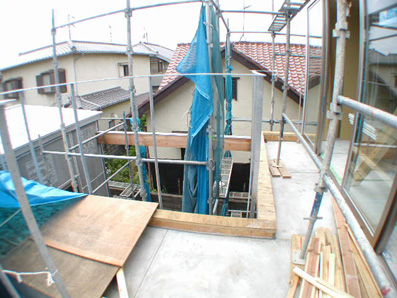
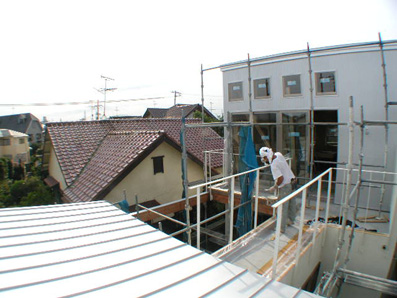
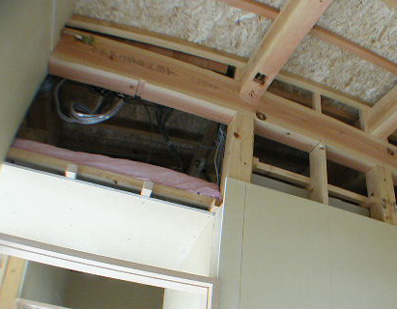
▽ 5/9: This is a photo taken looking up at the second-floor living room
and balcony from the children's room.
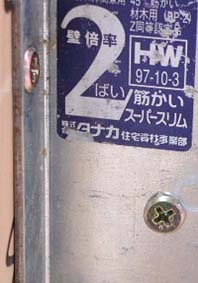
5/12: Intermediate inspection completed.
Confirmation of bracing and hardware positions completed by a private inspection company.
5/15: Construction inspection completed by the Japan Housing Guarantee
Foundation (10-year warranty system).

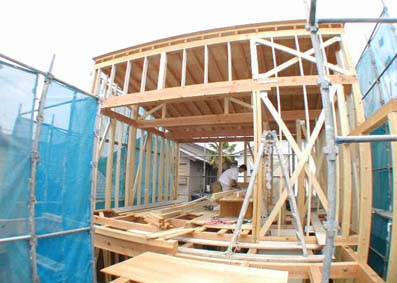
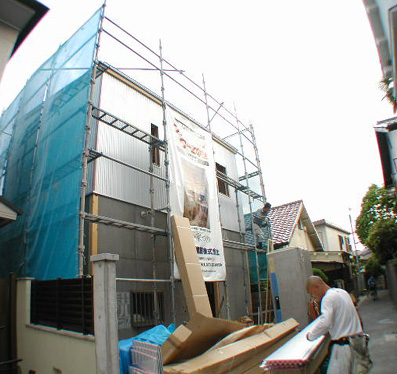
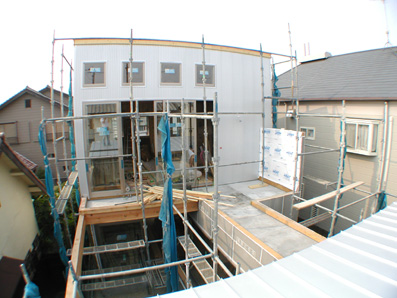
5/20: Exterior wall sheathing plywood almost complete.
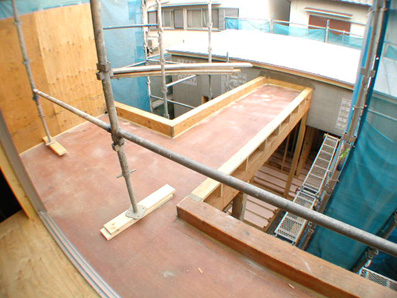
▽ FRP waterproofing of the 2nd floor deck terrace completed.
▽ Children's room as seen from the 1st floor corridor.

The left side of the corridor connecting the 1st floor children's room and master bedroom is planned to be a wood deck terrace
5/25: Regular site meeting .
Construction scene of the metal siding Galspan for the exterior walls .
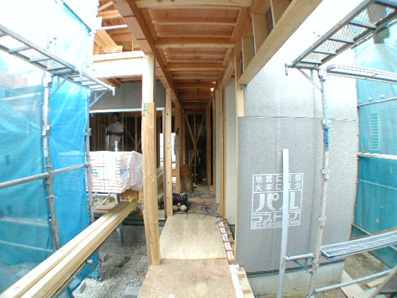
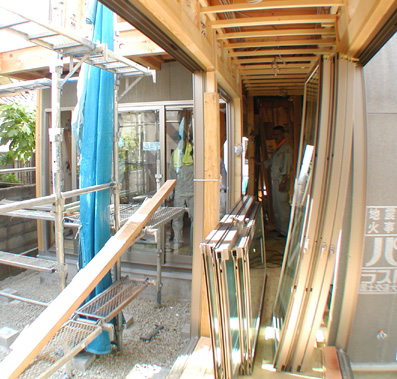
6/3: Aluminum shoji screen delivery begins. Before starting the interior
finishing work, aluminum shoji screens are installed along with the glass.
Double-glazed windows are used throughout the living spaces.This is for
condensation prevention and insulation.
6/3: Site supervision .Today, we confirmed the locations of the outlets
and switches. (This is unrelated to the photo, but...)
▽This is the designer's favorite photo. It is common to see the living
room from a rooftop terrace, but in this house, you see the living room
from the roof .Why? It feels different.
▽The roof is a favorite of both the homeowner and the designer. It was
such a warm and sunny day today that I couldn't help but lie down and relax.
It feels like I have the sky of this residential area all to myself.

6/10: This is a view of the children's room from the back of the first-floor
bedroom. The site is used efficiently, giving it considerable depth.

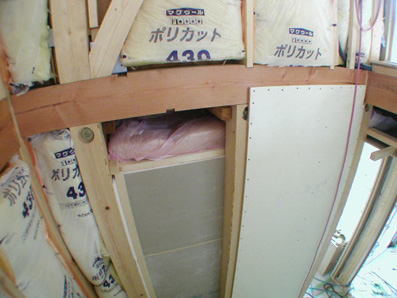
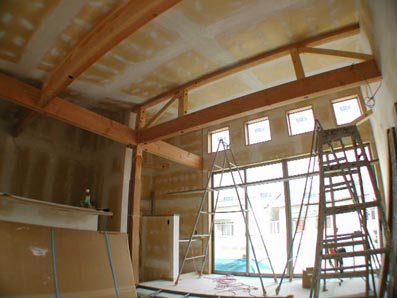
6/17: The baseboards are being installed on the walls of the second-floor
living room. Insulation is installed inside the walls, but the roof has
external insulation, so there is no insulation in the ceiling space.
6/20: The handrail has been installed on the second-floor balcony. It is
made of steel and has been treated with hot-dip galvanizing to prevent
rust.
6/24: Installation of the stair treads has begun.The material is laminated
ash wood. One month left until handover. Almost on schedule.
7/1: The stucco spraying work on the exterior walls is complete. A fence
with cedar planks will be installed on the road side at a later date. The
plan is to create a softer look by adding cedar planks to the metal and
white walls. 
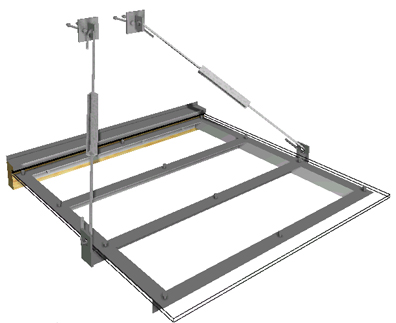
7/1: Installation of the entrance canopy and stainless steel frame is complete.
Weather-resistant transparent polycarbonate sheets will be placed on top
of this frame. The design can be done with just one stainless steel support
rod. However, the reason for using two is that we believe that even in
the event of metal fatigue or some other accident 10 or 20 years from now,both
rods will not come off at the same time.
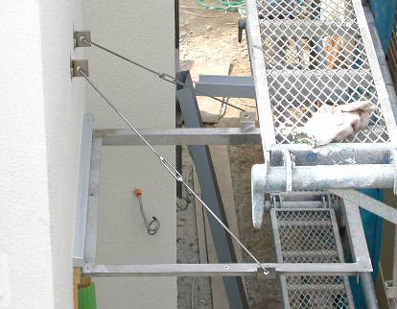
▽ In short, we always consider both design and safety. We also created
an image drawing like the one below in advance to discuss the design of
the canopy, etc. with the client .
▽Painting of the steel handrail.The handrail has been treated with hot-dip
galvanizing, so there is no need to worry about rust.However, it should
be noted that when treated with hot-dip galvanizing, general OP paint does
not adhere well, and surface preparation for painting is necessary. Also,
this time the painting contractor used urethane paint, which dries quickly
and gives a nice finish.Faster drying shortens the working time when applying
multiple coats, leading to labor cost savings (cost reduction). (Photo
taken on 6/30)
7/8: Second floor living room baseboard and joint treatment completed The
second floor will have a painted finish,but the joints of the non-combustible
boards will be smoothed and flattened with tape and putty to prevent cracking.

▽The L-shaped kitchen has been delivered, and the area around the stovetop will be covered with white fire-resistant boards.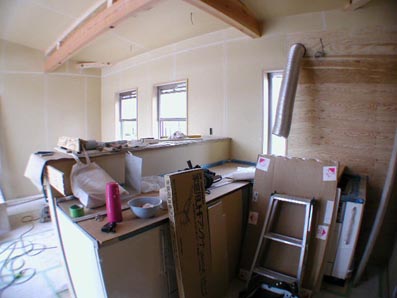
▽ A wooden deck is being constructed in the courtyard.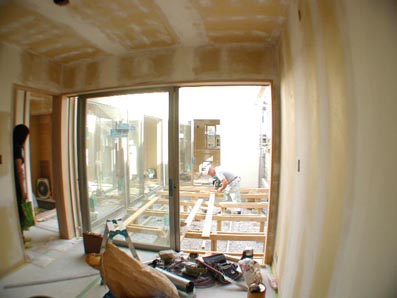
▽The entrance is being tiled. The type of tile was decided after visiting
a tile showroom with the homeowner. The placement of the tiles in the entrance
will, of course, be specified in the design. |
|
|
|
 |